|
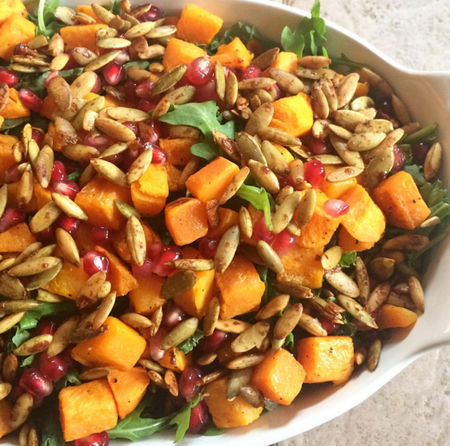
WARNING: These are insanely addicting, I just about ate half of them right out of the oven. Spicy, salty, and sweet, you just won't get enough. These pepitas match wonderfully with Fall flavors including butternut (or any) squash, sprinkle them over some roasted, mashed, or squash soup. They are also the perfect topping for oatmeal, yogurt, or salad so feel free to make a double batch and store in an airtight container. Servings: ~1.5 cups ~1.5 cups of raw pepitas 1.5 Tbsp of avocado oil (or olive oil) 1 Tbsp of maple syrup 1 Tbsp of coconut sugar (or brown sugar) 1/4 tsp of fall warming spice (or pumpkin spice) 1/8 tsp of salt 1/4 tsp of paprika few dashes of cayenne pepper Preheat the oven to 375 degrees. Parchment a cookie sheet.
Combine all ingredients (minus the pepitas) in a medium size bowl and mix until well combined. Add pepitas and toss until coated then spread the mixture in an even layer on the cookie sheet. Place in the oven for 6-8 minutes until caramelized and fragrant.
0 Comments
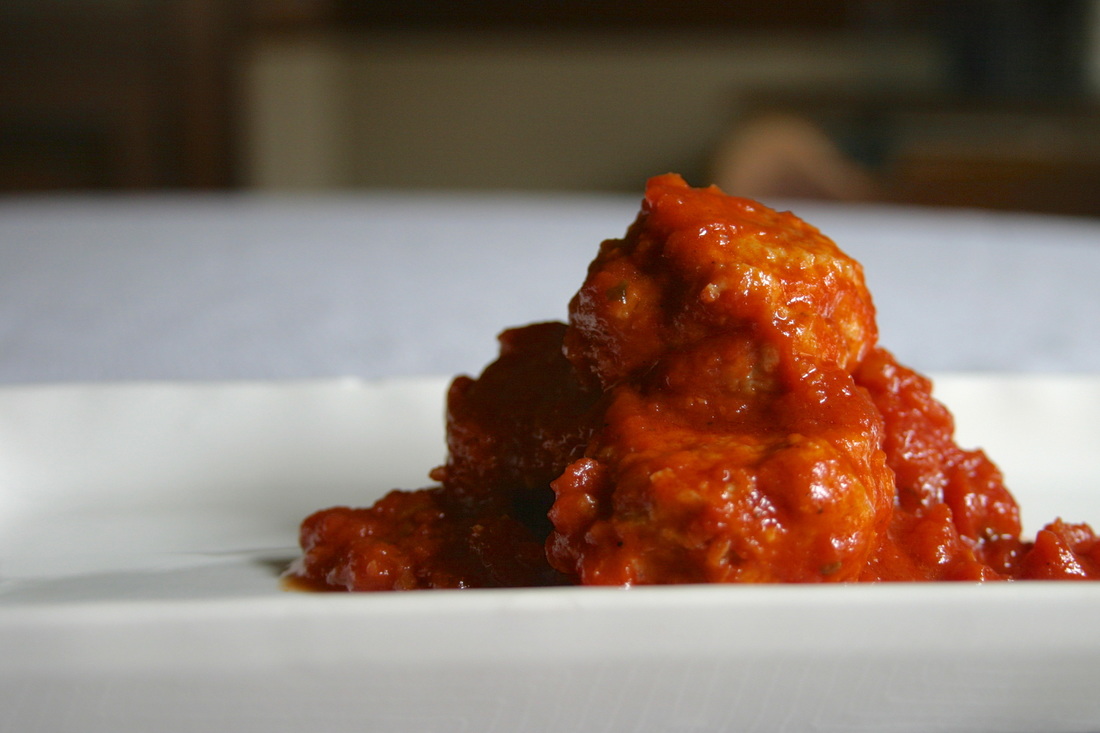
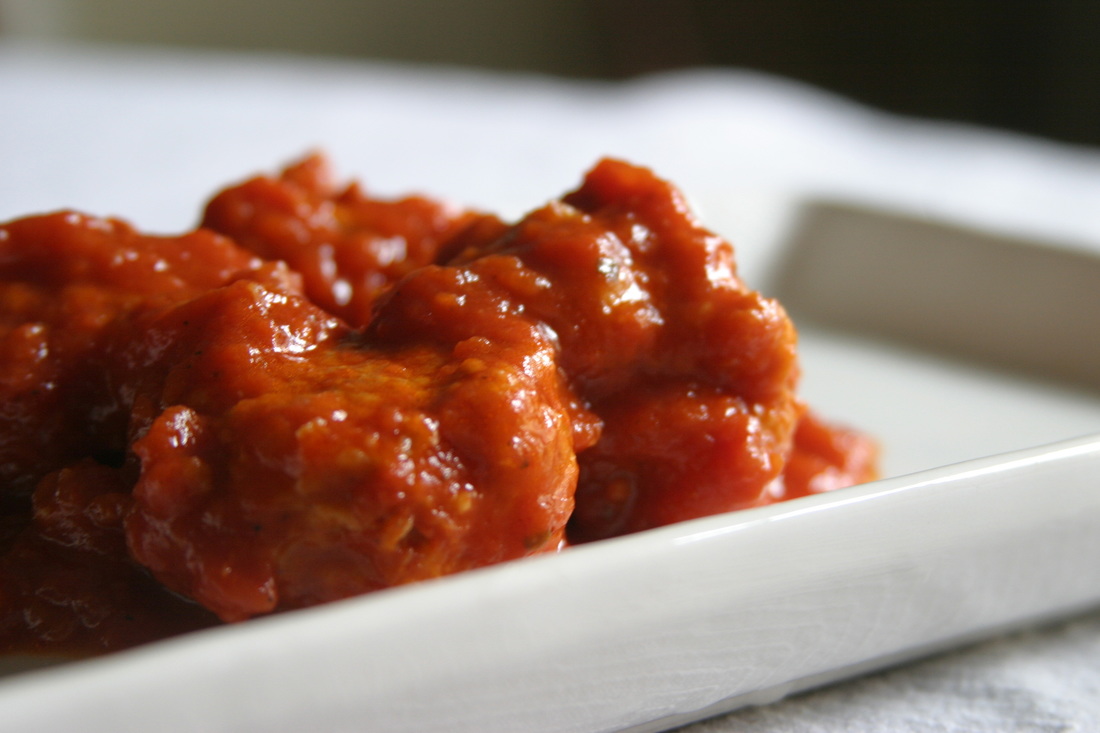
Who doesn't love meatballs!!?? This recipe is a lighter, healthier choice but still gives you the perfect meatball, that crust on the outside and tender, juicy meat on the inside. GOOD LORD! Italian Style Chicken MeatballsServings: 16-18 meatballs 1 lb of ground chicken 1 egg 1/2 tsp of salt 1/4 tsp of ground pepper 1/2 tsp of garlic powder 1/2 tsp of onion powder 1/2 tsp of italian seasoning 1 Tbsp of worcestershire sauce 1 15oz. jar of marinara sauce* 1 (scant) cup of panko breadcrumbs olive oil Notes: *My favorite marinara is Rao's Homemade, it's absolutely the best I've had and my go to. UPreheat the oven to 400 degrees. Parchment a large baking sheet & drizzle with olive oil.
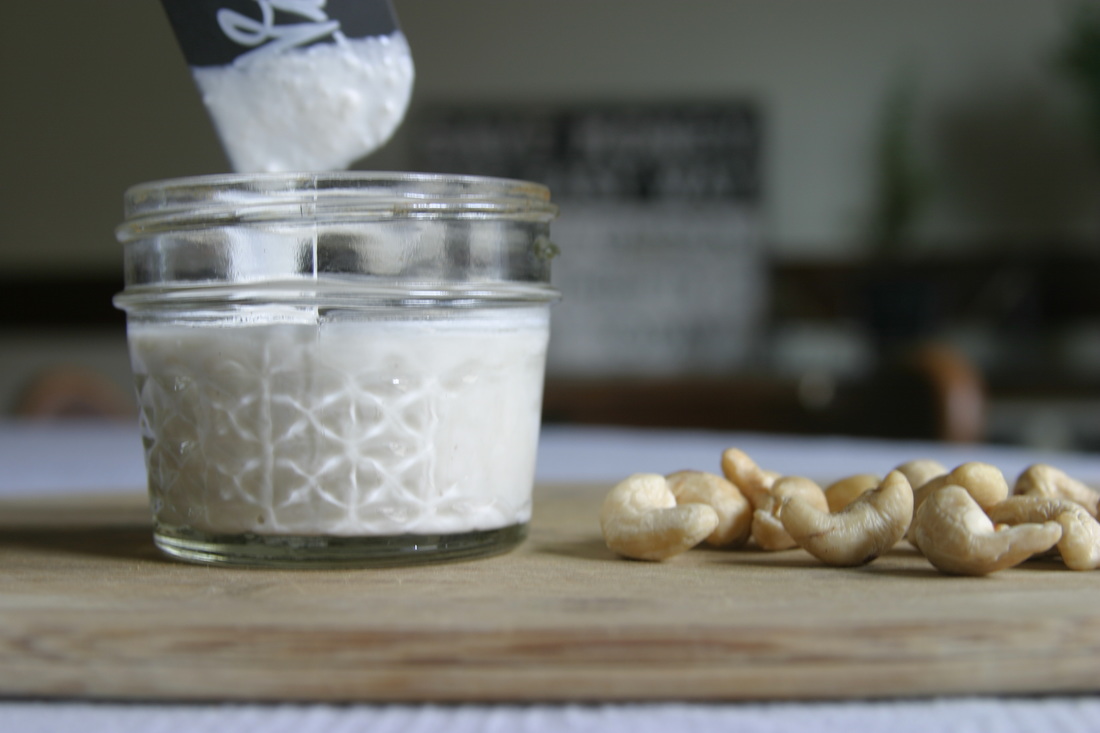
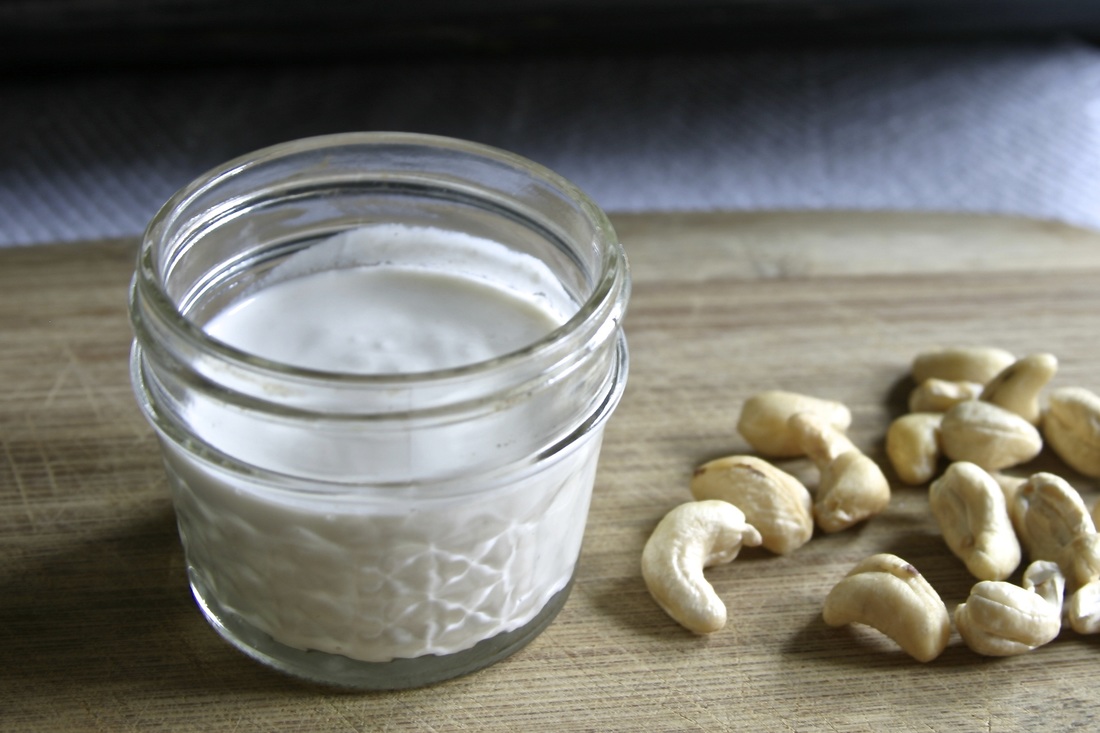
In a small bowl, whisk together the egg, salt & pepper, garlic & onion powder, italian seasoning, and worcestershire sauce. In a larger bowl, add your ground chicken, panko breadcrumbs, and seasoned egg mixture. Use your hands to mix everything together. Be gentle and quick to keep the meat tender! Using a TBSP measure, begin forming 2 TBSP size meatballs and place on baking sheet, you will get about 12. Drizzle the top of the meatballs with more olive oil. Place in the oven for about 8 minutes, they should be brown on the bottom side. Flip the meatballs over and bake another 8-10 minutes until golden brown on both sides. If serving right away, warm up the marinara in a medium sauce pot then toss with the meatballs. If serving later, cool the meatballs then store in an airtight container in the fridge. To reheat, place marinara and meatballs in a medium sauce pot on the oven over medium-low heat. Cover and let heat until simmering and meatballs are warmed through. Cashew cream is AMAZING. The uses and variations are endless. It's SO easy to make and a useful nutritional replacement to have on hand. The slightly sweet and buttery cashew nut is packed with energy, antioxidants, minerals and vitamins that are essential for long-lasting health. I recently used it as a replacement for heavy cream in my lightened up chicken pot pies. It gave them the same creamy, rich taste and texture that cream does PLUS healthy brain boosting fats. I've also used it as a frosting for chocolate cupcakes. The recipe below is a base and from there you can take it SO many places! Try it sweet, savory, or spicy. Cashew Cream1 cup of raw organic cashews filtered water Place cashews in a bowl and pour in enough filtered water to cover them completely. Let soak for 2-3 hours minimum (out on the counter is fine) or up to overnight (in the fridge).
After soaking, drain water from cashews. Place cashews in a high-speed blender with (new & clean) filtered water. The amount of water will depend on the thickness you want the cream. If you're making something like a frosting start with a few tablespoons of water. If you're making a liquid cream for soup, pasta, etc. then start with 1 cup and add 1-2 tablespoons at a time until desired consistency is reached. Once the cream is smooth, pour into an airtight container and store in the fridge until ready to use. This cream will keep around 2 weeks. I am all for quick and easy (but still healthy) recipes. These egg rolls are beyond delicious and are absolutely fool proof. The bonus: they only take 5 ingredients!! I use a few little short cuts that skimp on time but NOT on flavor. Five Ingredient Southwestern Turkey Egg RollsServings: ~12 egg rolls (depends on how much you fill them) 1 lb of ground turkey 2 tsp of taco seasoning* 2 cans of southwestern vegetable soup* egg roll wraps shredded cheese - 3 cheese mexican blend +1 egg + olive oil Notes: + Since these are pantry items, I consider them "free" ingredients and they don't count towards the five. :P * I made my own taco seasoning! Check out recipe below. It also includes salt & pepper so if you use a store bought packet and it doesn't have salt & pepper, be sure to add to seasoning. * Using the vegetables from a canned soup, genius shortcut! I used Amy's Organic Southwestern Vegetable soup. It had fire roasted vegetables which are so flavorful! It included corn, beans, green chili, potatoes, carrots, tomatoes, and spices. Feel free to use any type of vegetables you like in this recipe. Homemade Taco Seasoning 1 Tbsp of chili powder 1/4 tsp of garlic powder 1/4 tsp of onion powder 1/4 tsp of cayenne pepper 1/2 tsp of paprika 1 1/2 tsp of ground cumin 1 tsp of salt 1 tsp of black pepper Preheat the oven to 400 degrees. Parchment (or grease) a large baking sheet.
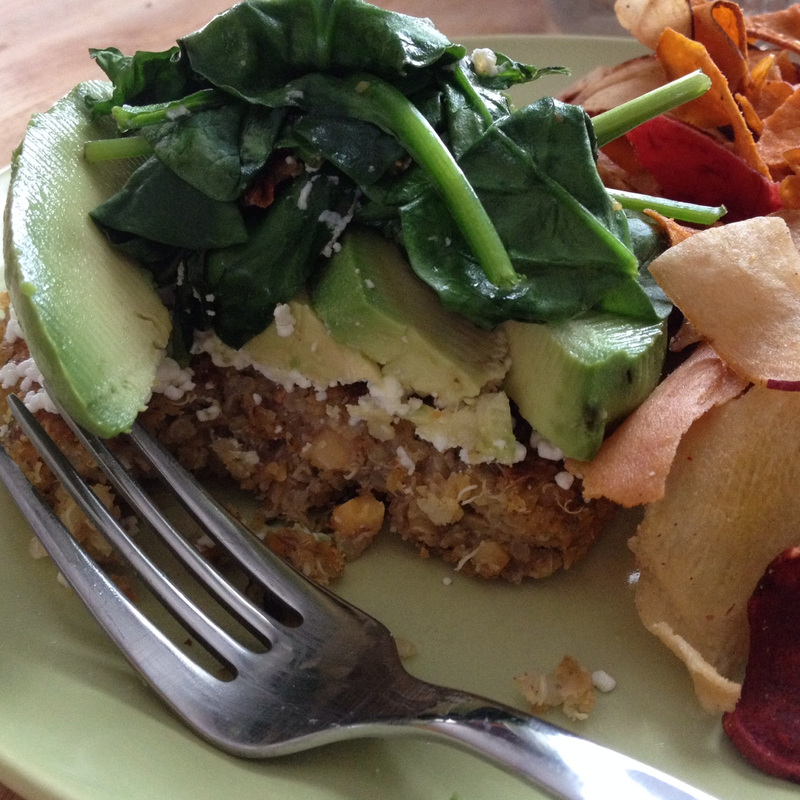
Heat the olive oil in a large skillet over medium-high heat. Add the turkey & taco seasoning. Use a wooden spoon to crumble the turkey as it cooks and mix a few times to incorporate the spices. Let sauté until golden brown and no longer pink. Meanwhile, beat 1 large egg with a splash of water (this is your egg wash), set aside. Once the turkey is done, remove from the heat and add your veggies. If you're using canned soup with veggies, just scoop the veggies out with a spoon, trying not to catch too much liquid. If you decide to use frozen veggies, heat with the turkey for a few minutes to defrost them. Drizzle your baking sheet with olive oil (only if you used parchment) so your rolls get crispy. Begin filling your egg roll wraps with turkey/veggie mixture, sprinkle with cheese, and roll them up. The package should have directions! Mine even had pictures, which made life easier. You can google or youtube is necessary. :) Before placing the oven, brush the rolls with the egg wash. This will make them golden brown, it's very important! Bake for 10-12 minutes until golden brown and crispy. I flipped mine about 7 minutes in so they could crisp on both sides. Serve rolls with your favorite dipping sauce like avocado ranch, salsa, sour cream, or guacamole & enjoy!! With my busy schedule, I need things like these burgers in my fridge to warm up when I come home from work. Prep is KEY when it comes to maintaining healthy eating habits because let's admit, we're all lazy. When I'm hungry, my stomach screams "Give me food, NOW!" so it's for the best that some chickpea & quinoa burgers are in the fridge and only need to be grilled in a skillet quickly. The chickpeas and quinoa throw a one, two punch of fiber and protein. Full of flavor and health benefits, these are the type of burgers that will leave your taste buds and digestive system satisfied. Chickpea & Quinoa BurgersServings: 4 burgers 1 can of cooked chickpeas (about 1.5 cups) 1 cup of cooked quinoa 2 tsp of dijon mustard 2 tsp of chopped shallot 2 cloves of garlic 1 tsp of dried parsley ~ 1 Tbsp of fresh thyme leaves 1/4 cup of olive oil + a bit more for brushing 3 Tbsp of flax meal (ground flax seed) Preheat the oven to 400 degrees. Parchment a baking sheet and brush with olive oil.
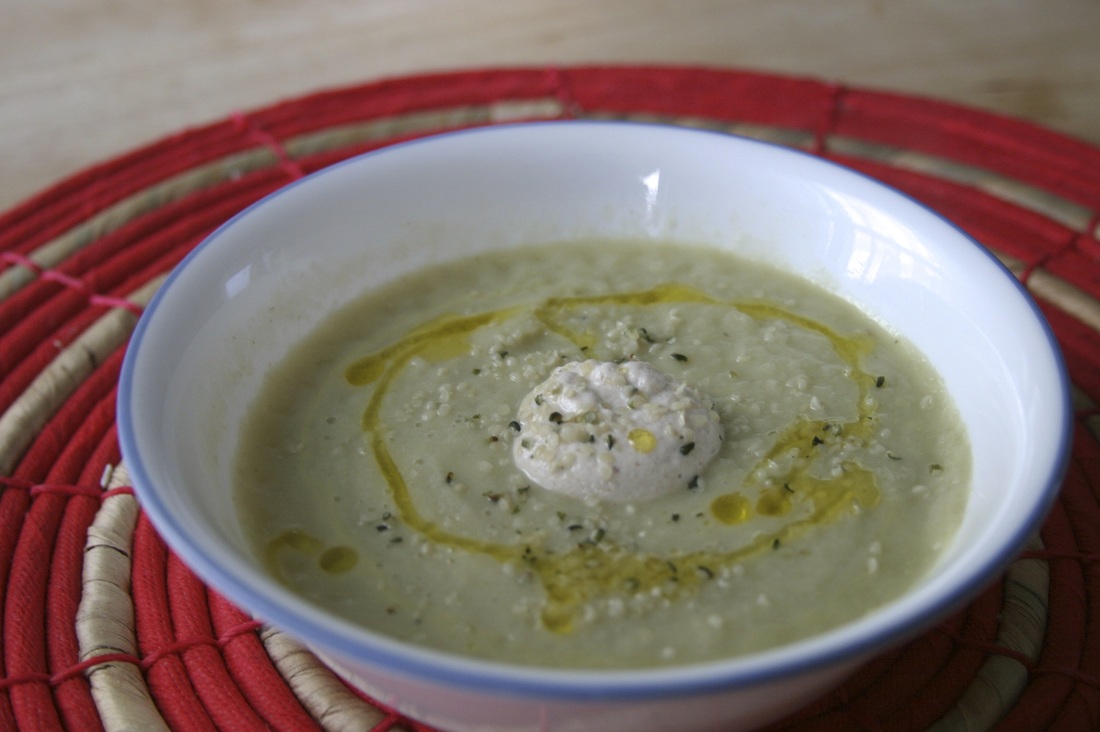
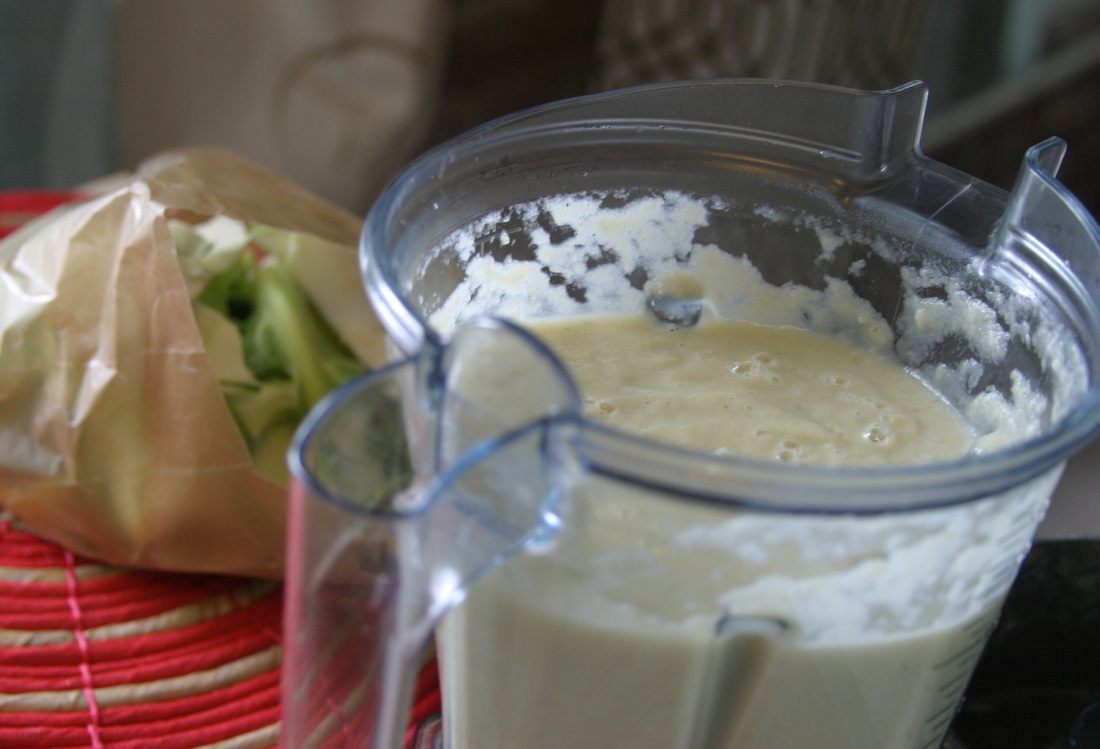
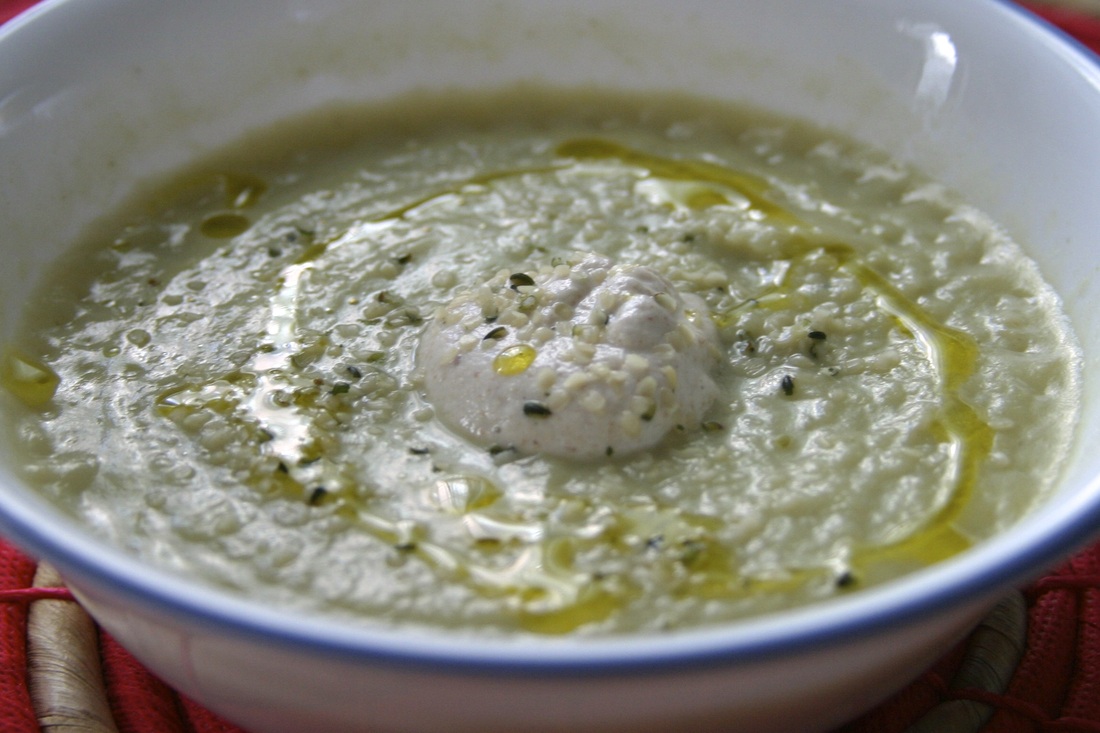
In a food processor, combine all ingredients (except the quinoa) and process until a paste forms. Be careful not to over process, you still want a bit of texture to the chickpeas. Transfer the mixture over into a medium bowl and fold in the quinoa. Form the mixture into four patties and place onto the baking sheet. Brush the tops with another light layer of olive oil. Place in the oven for 15 minutes then flip the burgers over and bake for another 10-15 minutes, keep an eye. Once they are golden brown on each side, remove from the oven and let cool for a few minutes. Serve warm or let cool completely and store in the fridge/freezer. If there's one thing that can make the hours pass by and make me lose track of time, it's reading cookbooks. Yes, I'm a health nerd and i LOVE it. One of my go-to cookbooks is "I Quit Sugar" by Sarah Wilson, it's pure brilliance. It's any eye opener, that's for sure. We all know the negative effects of sugar: headaches, digestion upset, skin breakouts, and ADDICTION. YES... addiction! When's the last time you could only have one bite of that dessert? Now, don't get me wrong, I have a BIG sweet tooth. But I've also realized that there are so many more flavors to explore out there. I was inspired to create a version of Sarah's Foolproof Fennel Soup and came up with this "soup for dummies" - so simple, yet so flavorful. There's a freshness to this soup that just makes it so lovely. The combination of sweet from the fennel & leek and buttery from the ghee, garlic, & cauliflower makes this an all around crowd pleaser. Five Ingredient Fennel SoupServings: ~ 4 Five simple ingredients: 1 fennel bulb - chopped 1 leek - sliced 1 cup of chopped cauliflower 3 cups of homemade chicken stock (or vegetable) 1 tsp of fennel seed Plus a few pantry staples: 1 cup of water 1 large garlic clove 2 tsp of apple cider vinegar (or white wine) 3 Tbsp of ghee (or butter) salt & pepper to taste Melt the ghee in a large soup pan, add the fennel and leeks, sauté until the fennel starts to become translucent and soft. Add the fennel seeds & apple cider vinegar, give a quick stir and let sauté for another minute. Add the remaining ingredients (garlic, water, stock, & cauliflower) and bring to a boil. Turn down to low/med heat and let simmer for about 30 minutes until cauliflower becomes tender.
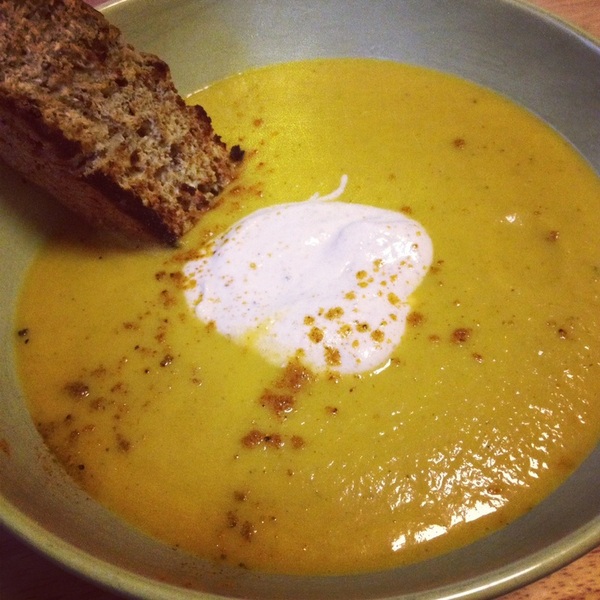
Place into a blender (or food processor) and blend until it becomes 'creamy.' Season with salt & pepper. Pour into a bowl, serve nice & hot. Garnish with hemp seeds, flax (or olive) oil, and a dollop of raw almond cashew yogurt. .....then stop & appreciate the beauty of your bowl......and dig in :) So flavorful, so creamy, so "mmmm,mmmmm, good!" You will savor this soup until the last bite & might even be licking the bowl at the end. No dairy thickeners needed here, the cauliflower adds that creamy texture, and it detoxifies your body at the same time, isn't that sweet? Topping this soup with a dollop of raw nut yogurt (with probiotics) makes for a very happy & healthy belly. The tang and nutty profile it brings, completes this soup and notches it up from a 7 to a 10 in my book. Let's add another 5 notches for the beautifully toasted homemade coconut bread on the side for dipping. What's soup without bread? Lame... that's what. 'Creamy' Cauliflower & Carrot SoupServings: 3-4 1 Tbsp of organic coconut oil 2 Tbsp of organic chopped shallots 1/2 package of organic baby carrots (because they're already peeled :) ) 1/2 head of organic cauliflower - chopped & roasted (roasting the cauliflower with coconut oil adds a great nutty, smokey profile to this soup) 2 tsps of lemon zest 1 tsp of cumin 1/2 tsp of curry 2 cups of homemade chicken (or vegetable) stock 2 cups of water salt & pepper Raw almond & cashew yogurt for topping Heat the coconut oil in a medium/large pot over medium heat. Add the shallots (I used already prepared chopped ones, if you use fresh let them cook down for a few minutes).
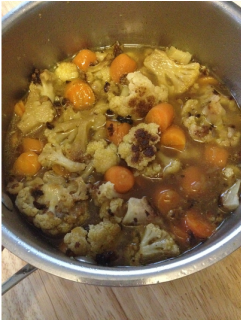
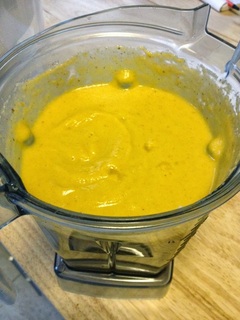
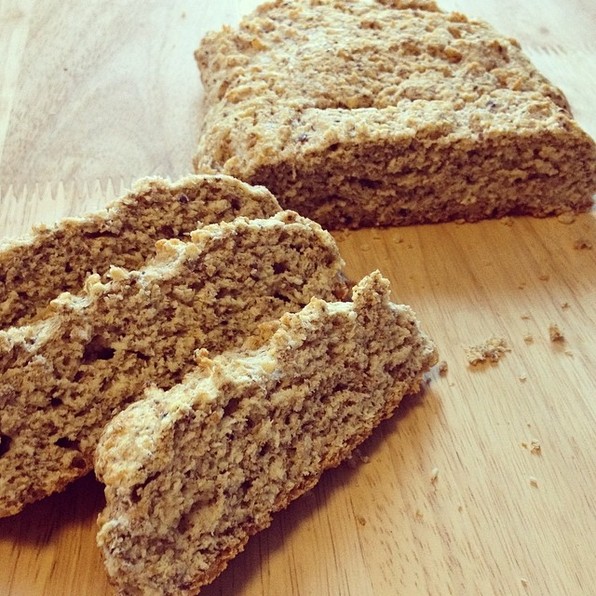
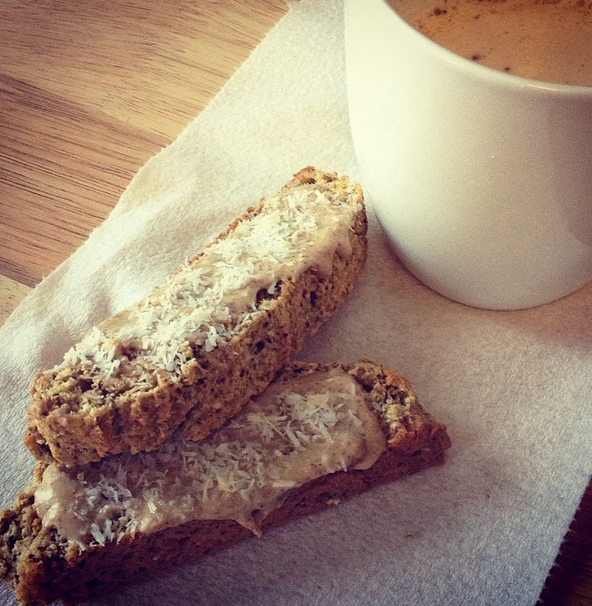
Add the carrots, lemon zest, cumin, & curry and give a quick stir. Pour in the water & stock, bring to a boil, then reduce to low heat, cover & let simmer for about 15-20 minutes. Add your cauliflower & cover - let simmer for another 15-20 minutes, until veggies are nice & tender. Pour the soup mixture into a blender/food processor. Season with salt & pepper to taste and blend until smooth & creamy. Serve with a dollop of raw almond cashew yogurt, sprinkle with curry powder, & dip with a toasted slice of coconut bread. This recipe is so simple and I was so surprised at how perfect this bread came out. The coconut components add a subtle sweetness and the spelt flour adds that nutty, earthy taste that bread has. It was so crisp on the outside and had the perfect moist, fluffy texture on the inside. This coconut bread is also filled with health benefits containing essential vitamins & minerals to your bodies health, could it get any better? Because this coconut bread is only subtly sweet, it's versatile. Toast it for breakfast with some almond butter and toasted coconut (like I did =D) or use it for lunch as your sandwich bread. Perhaps try making a batch of this 'Creamy' Cauliflower & Carrot soup and use your coconut bread for scraping the bowl at the end. Coconut BreadServings: 1 small loaf/ ~6-8 slices Dry 1/2 cup of coconut flour 1/2 cup of spelt flour 1/2 tsp of salt 1 tsp of aluminum free baking powder Dash of stevia (or 1-2 tsp of sugar) Wet 3 Tbsp of coconut milk 2 Tbsp of coconut oil 3 eggs 2 flax eggs* (or 2 more eggs) *2 flax eggs = 2 Tbsp of flax meal combined with 1/4 cup + 2 Tbsp of water: mix together and let sit until the flax absorbs the water and thickens to take on an egg like texture Preheat oven to 350 degrees. Grease a small loaf pan with coconut oil.
Combine dry ingredients and mix well. In a separate bowl, combine wet ingredients and mix well. Fold the wet ingredients into the dry to make your bread dough. Once combined, place dough into your loaf pan and place in the oven for about 30 minutes or until it becomes firm to touch and golden brown on the outside. Let cool before slicing the bread to avoid it becoming gummy. |
Welcome!I’m Brittany and this is ME. I’m a health nerd with a sarcastic sense of humor, a smiling/laughter problem, and a niche in the kitchen. I have a passion for fitness and cooking because together they changed my outlook on life. Live for the moment and do what you love: that’s what’s important. I kick a** in Pilates/Barre and the kitchen because it’s what makes me happy, it’s what I’m good at, and I LOVE it. EAT
All
|
Proudly powered by Weebly

